
 US Letter & A4
Strawberry Smile
US Letter / A4
A little paper, a little filling, a lot of happy. Pick a design, print it out, and make something squishable.
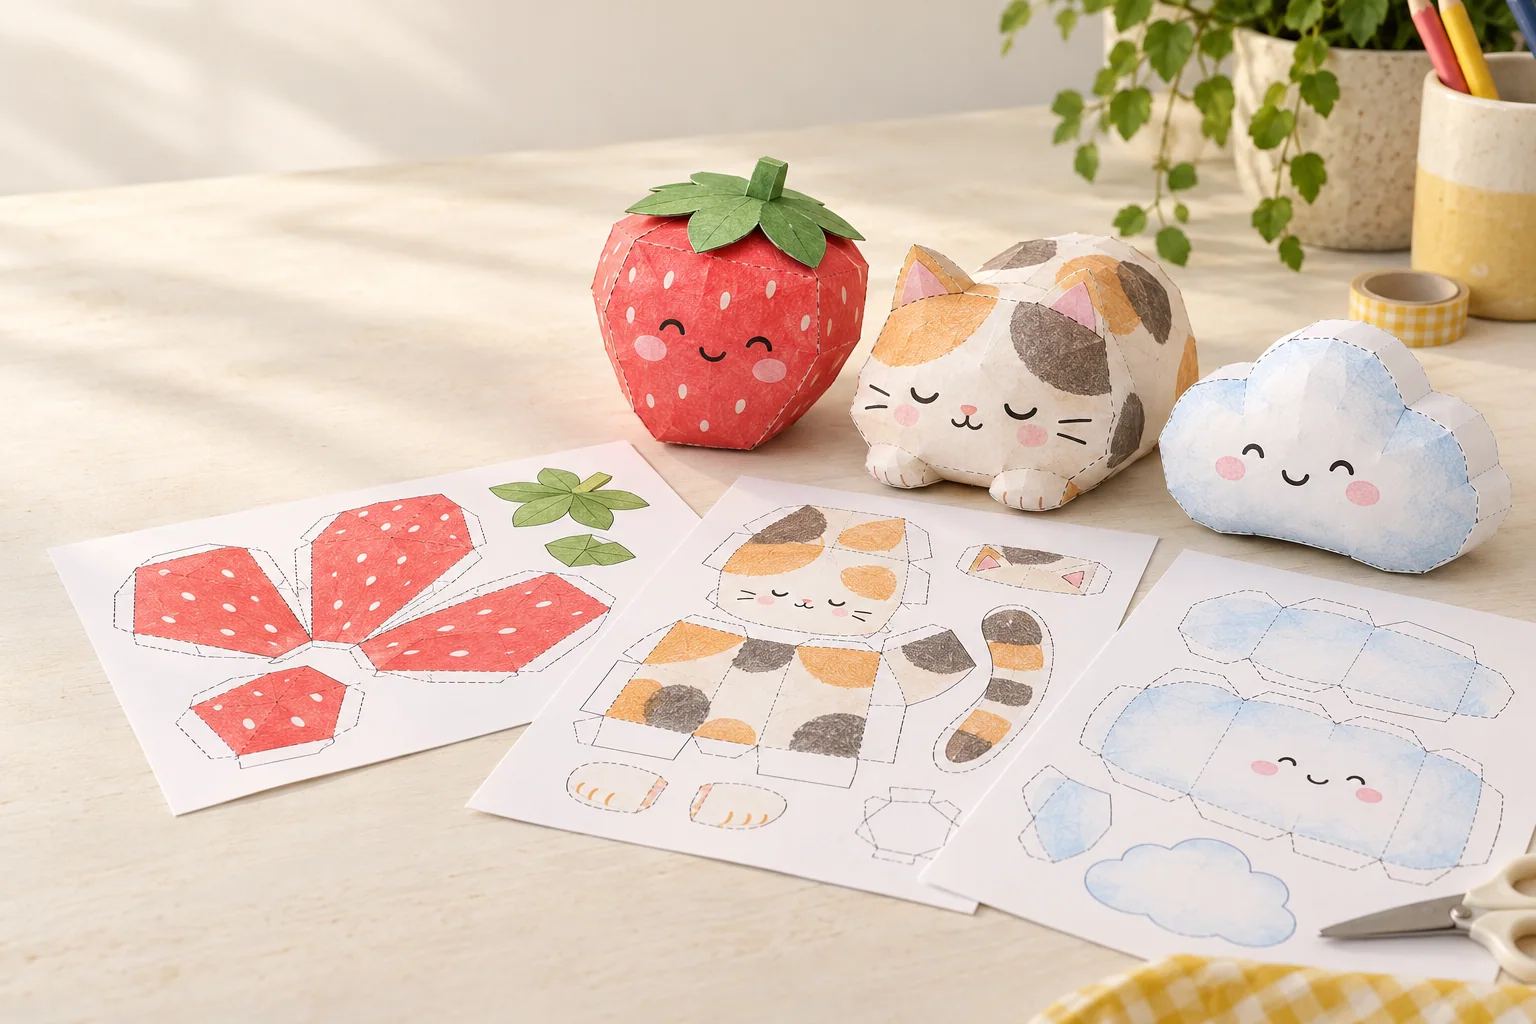
Every design includes US Letter and A4, in color and a version to color yourself.

A little berry with a big smile. A simple two-sided pillow shape makes this a sweet first project.

1. Print at 100%. Check the 50 mm line.

2. Color if you like. Cut both outer shapes.

3. Align the pieces with printed sides out.

4. Tape the edges. Leave a small opening.

5. Add a little loose tissue or soft stuffing.

6. Seal the opening. Press gently.
Print at Actual Size / 100%. Adult help may be needed for scissors, glue, and small pieces.

A bright little cube for your paper snack collection. Fold the tabs before adding a small amount of filling.

1. Print at 100%. Check the 50 mm line.

2. Cut outer lines. Keep every glue tab.

3. Fold all dashed lines and tabs inward.

4. Glue sides and bottom. Leave top open.

5. Add a little loose tissue or soft stuffing.

6. Fold and seal the top tabs last.
Print at Actual Size / 100%. Adult help may be needed for scissors, glue, and small pieces.

A sunny citrus slice with a soft round shape. Keep a little space around the edge for an even seal.

1. Print at 100%. Check the 50 mm line.

2. Color if you like. Cut both outer shapes.

3. Align the pieces with printed sides out.

4. Tape the edges. Leave a small opening.

5. Add a little loose tissue or soft stuffing.

6. Seal the opening. Press gently.
Print at Actual Size / 100%. Adult help may be needed for scissors, glue, and small pieces.

A paper treat that never melts. Color the stripes your way, then add a small fluffy filling.

1. Print at 100%. Check the 50 mm line.

2. Color if you like. Cut both outer shapes.

3. Align the pieces with printed sides out.

4. Tape the edges. Leave a small opening.

5. Add a little loose tissue or soft stuffing.

6. Seal the opening. Press gently.
Print at Actual Size / 100%. Adult help may be needed for scissors, glue, and small pieces.

A curled-up calico friend for a quiet craft afternoon. Choose the color version or invent your own coat pattern.

1. Print at 100%. Check the 50 mm line.

2. Color if you like. Cut both outer shapes.

3. Align the pieces with printed sides out.

4. Tape the edges. Leave a small opening.

5. Add a little loose tissue or soft stuffing.

6. Seal the opening. Press gently.
Print at Actual Size / 100%. Adult help may be needed for scissors, glue, and small pieces.

A cheerful pond pal with a round tummy. Its broad shape leaves plenty of room for your own colors.

1. Print at 100%. Check the 50 mm line.

2. Color if you like. Cut both outer shapes.

3. Align the pieces with printed sides out.

4. Tape the edges. Leave a small opening.

5. Add a little loose tissue or soft stuffing.

6. Seal the opening. Press gently.
Print at Actual Size / 100%. Adult help may be needed for scissors, glue, and small pieces.

Long ears, rosy cheeks, and a soft little tummy. Try a pastel palette or add your own tiny patterns.

1. Print at 100%. Check the 50 mm line.

2. Color if you like. Cut both outer shapes.

3. Align the pieces with printed sides out.

4. Tape the edges. Leave a small opening.

5. Add a little loose tissue or soft stuffing.

6. Seal the opening. Press gently.
Print at Actual Size / 100%. Adult help may be needed for scissors, glue, and small pieces.

A small penguin with a round white belly. A simple outline keeps cutting and lining up the pieces easy.

1. Print at 100%. Check the 50 mm line.

2. Color if you like. Cut both outer shapes.

3. Align the pieces with printed sides out.

4. Tape the edges. Leave a small opening.

5. Add a little loose tissue or soft stuffing.

6. Seal the opening. Press gently.
Print at Actual Size / 100%. Adult help may be needed for scissors, glue, and small pieces.

A tiny carton with a friendly face. Fold the box shape, add filling, and close the top last.

1. Print at 100%. Check the 50 mm line.

2. Cut the outer edge. Keep all tabs.

3. Fold walls, bottom flaps, and roof lines.

4. Glue the side seam, then the bottom.

5. Fill lightly. Glue roof sides to gable tabs.

6. Bring top strips together and seal.
Print at Actual Size / 100%. Adult help may be needed for scissors, glue, and small pieces.

A happy little cloud for a dreamy afternoon. Use the color version or draw a whole new weather pattern.

1. Print at 100%. Check the 50 mm line.

2. Color if you like. Cut both outer shapes.

3. Align the pieces with printed sides out.

4. Tape the edges. Leave a small opening.

5. Add a little loose tissue or soft stuffing.

6. Seal the opening. Press gently.
Print at Actual Size / 100%. Adult help may be needed for scissors, glue, and small pieces.

A pocket-size paper camera with a bright coral body. Add a little filling before sealing the final side.

1. Print at 100%. Check the 50 mm line.

2. Cut outer lines. Keep every glue tab.

3. Fold all dashed lines and tabs inward.

4. Glue sides and bottom. Leave top open.

5. Add a little loose tissue or soft stuffing.

6. Fold and seal the top tabs last.
Print at Actual Size / 100%. Adult help may be needed for scissors, glue, and small pieces.

A chunky little pencil for your craft desk. Keep the point lightly filled so the paper can move softly.

1. Print at 100%. Check the 50 mm line.

2. Color if you like. Cut both outer shapes.

3. Align the pieces with printed sides out.

4. Tape the edges. Leave a small opening.

5. Add a little loose tissue or soft stuffing.

6. Seal the opening. Press gently.
Print at Actual Size / 100%. Adult help may be needed for scissors, glue, and small pieces.
Start with an easy shape. You only need a few everyday craft supplies.
Choose your paper size and print at Actual Size / 100%.
Color the line-art version first, then cut on the solid lines.
Fold on dashed lines where shown, or line up the two faces.
Use clear tape or glue. Leave one small opening for filling.
Add loose tissue or soft stuffing a little at a time.
Seal the final opening, then gently press your paper squishy.
Grown-ups: help with scissors, glue, and small pieces as needed for the child's age and ability.
Use the PDF made for your paper: US Letter (8.5 × 11 in) or A4 (210 × 297 mm). Choose portrait orientation.
Select Actual Size or 100%. Turn off “Fit to page.” Check the PDF's 50 mm line with a ruler after printing.
Cut along solid outer lines. Fold along dashed lines where shown. Keep tabs and sealing margins attached.
Paper sizes, supplies, and the little details that help.
Yes. The templates are free for personal, family, and classroom use. No account or email is needed. Please do not resell the files or present the designs as your own.
Choose the size that matches the paper in your printer. US Letter is 8.5 × 11 inches; A4 is 210 × 297 mm. Always print at Actual Size or 100%.
It is the same design as a black-and-white outline. Print it, add your own colors and patterns, and then cut and assemble it.
Small, loosely crumpled pieces of tissue or a little soft stuffing work well. Start with less than you think you need. Overfilling can split the paper seams.
Choose a design and help level that suit the child. An adult should decide when to assist with scissors, folding, glue, and small pieces. Paper squishies are craft projects and are not intended for chewing.
 Every design includes US Letter and A4, in color and a version to color yourself.
 Printer paper
 Scissors
 Clear tape or glue
 Tissue or stuffing
 Colors, if you like


